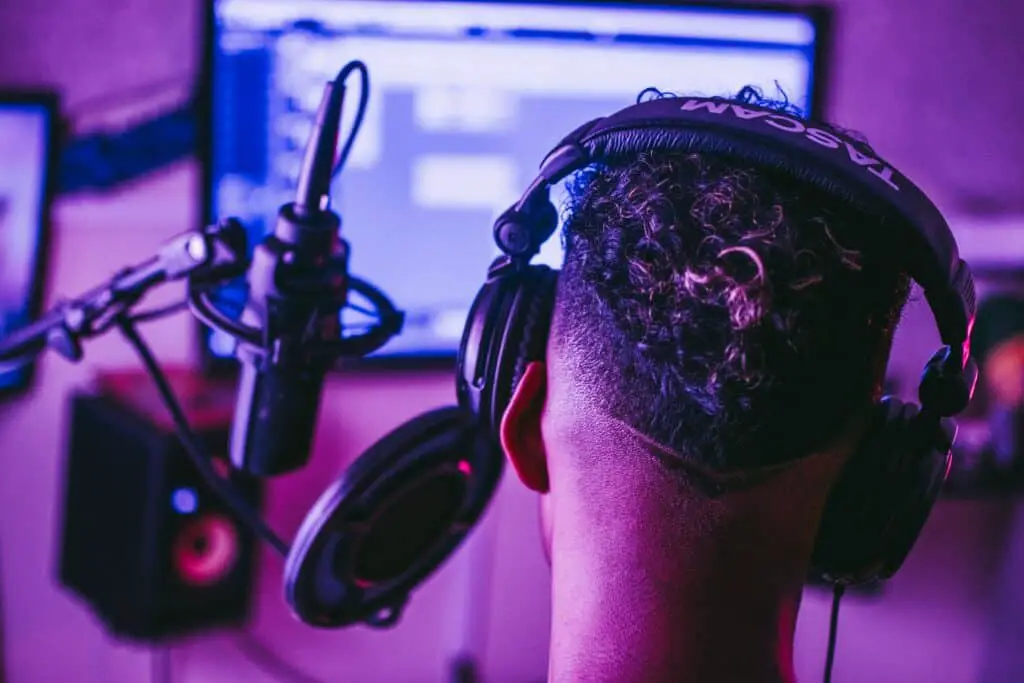
As video or audio content creators, we always need a soundproof booth to record our vocals. In our initial tie, we don’t have enough funds or space to hold professional audio recording stations.
At our home, we don’t have a single control over how, where, and where a sound is produced. You need a soundproof booth to record your vocal at a home to ease these issues.
Fun Fact: Many of the world-known music bands or singers like BTS(Korean Musical Band) have followed the same procedure. The number of people who started through this medium is as high as 90%.
Now a Question arises “Do you know how to build a Soundproof booth?”. So, the answer of you to this simple question is “NO”.
So, in the whole article, I am going to teach you everything about my experience to build a Good Sound Proof Booth in your home.
Some Interesting Things to Read:
- Best Curtain For Noise Reduction in 2023: Do Curtain Really work?
- How To Build Soundproof Box For Generator? – 10 Best Tips
- Top 10 Best Quiet Hair Dryers – You must consider in 2022
- Simple Guide to Best Acoustic Sealant and Adhesive to Improve in 2022
- 13+ Best Portable Generator that is Quiet for Camping in 2022
- Where Should You Build a SoundProof in Your Home?
- Built a Portable SoundProof Booth For Your Home
- Convert Your Room Into a SoundProof Recording Booth
- How To Make Soundproof Booth Cheaply?
- What is a Good SoundProof Booth?
- Where you can share your content produced from SoundProof Vocal Booth?
- Way Ahead: How To Make Soundproof Booth
Where Should You Build a SoundProof in Your Home?
Our home is the most efficient place to live and work if you don’t have regular public interactions. In my case, I have set up my home as my office. This includes a soundproof studio for my video content creation (YouTube), a developer console and a Content creation Console for Articles.
In my case “The whole workflow has increased my setup cost by 300% a time and decreased my whole cost by more than 80 in year-on-year run”.
So, let us discuss where to make soundproof your home.
Make a SoundProof Booth at the Corner of Your Room
Building a Soundproof booth at the corner of the room is a great idea. As this decision will help you to reduce your overall cost by more than 60% (happened with me).
Before building, you should consider these checklists:
- More than 10 inches of the thickness of Plywood: 1 – 5 inches will improve sound Quality by 10 to 15%, 6 to 10 will improve sound Quality by 40 to 60%, and 10 to 15 inches of plywood will improve sound quality by more than 80%,
- Use High-Quality Acoustic Sealant and Adhesive to seal the Cracks
- Use High-Quality Acoustic Panels
You do not need to apply Plywood on the two sides of the booth as there is a 5 to 10 inches thick wall. You only need to install Acoustic Panels on those sides.
Install your equipment and you are good to go. Thus, you have installed a SoundProof Booth in the Corner of Your Room.
Here’s a video to describe the whole phenomenon:
If you want to bypass those hard work, you need to buy a pre-built SoundProof Booth at the Corner of Your Room. Some of the leading pre-built SoundProof Booths that can be installed in the Corner of your room.
JUSOP Microphone Isolation Shield with Pop Filter
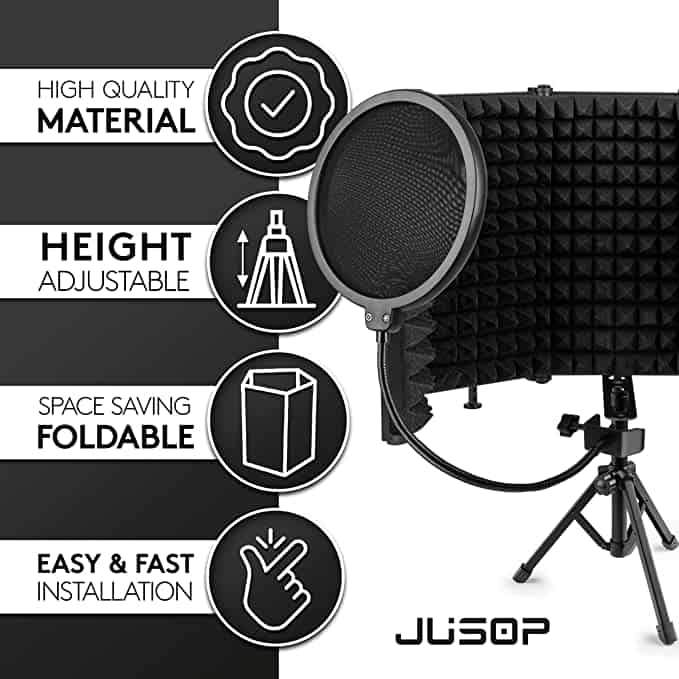
JUSOP Microphone Isolation Shield with Pop Filter is a great product to buy if you need a short-term solution or have very less funds to invest. This will improve the sound quality of your recording by more than 40%.
It is a four-star product that will only cost you only $40.
Tabletop Sound Recording Shield Microphone Vocal Booth
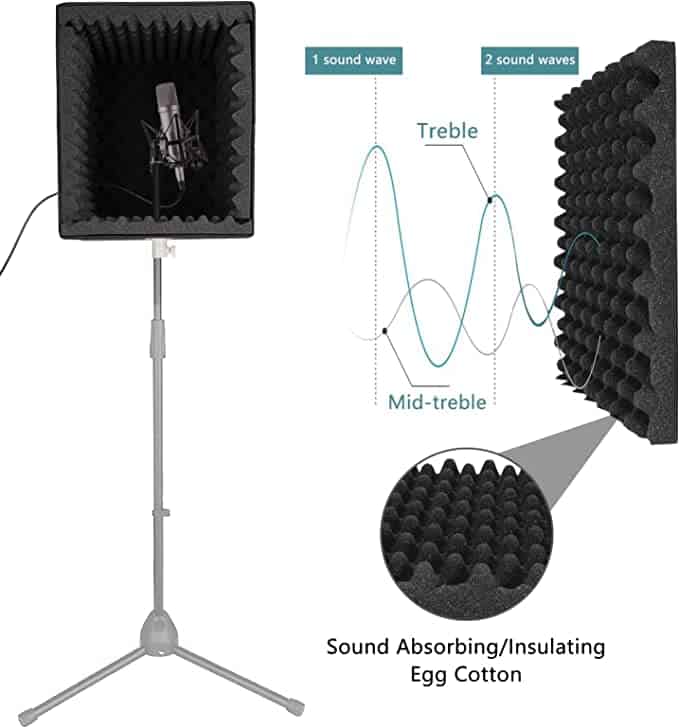
Tabletop Sound Recording Shield Microphone is a great product to consider while building a soundproof booth as it only captures the sound that you speak in front of it. It lets you improve your sound quality by more than 60 to 70% by blocking sound from three sides.
In this section, we learned “How To Make Soundproof Booth in the corner of the room?”.
Built a Portable SoundProof Booth For Your Home
If you have a congested room, You need to learn “How To Make Soundproof Booth considering portability?”.
In a congested home, many of us need to shift soundproof booths on a regular basis or “want to dismantle them”. So, you need to find solutions for these issues before they appear in front of you.
To get yourself out of these issues, you need to prepare yourself with a design that can move from its place with little or no effort. Some of the ideas that can help in this issue:
- Place Wheels in the Recording Booth or use iron nails that can be removed easily;
- Use Plywood on all sides of the Booth;
- Don’t use glue – In place of glue use small iron nails
Thus, You made a portable soundproof booth to record sound.
Some of our Special Content For You Only

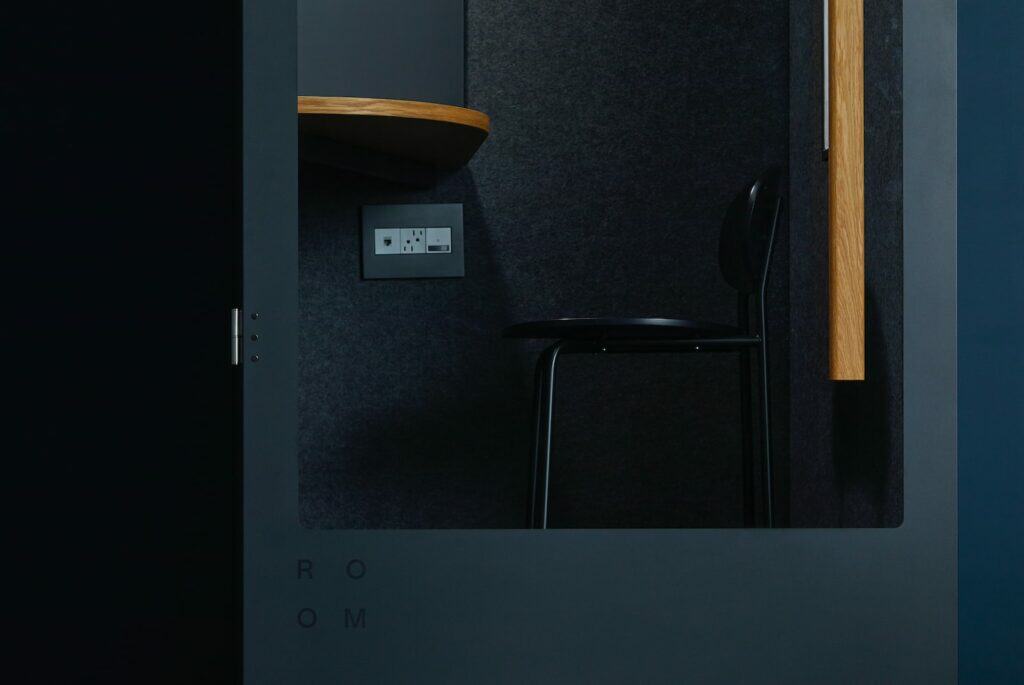
Convert Your Room Into a SoundProof Recording Booth
Conversion of a room into a soundproof recording booth is a great idea for everyone. When you build a booth in a corner of the room, your booth is too small and it will become congested to work there.
You should consider converting your room to a recording booth if you have space. Before converting, please make sure your booth has at least has 3:4 meter square area.
Before Converting, you should need to do the following things in your room:
- Use High-Quality Acoustic Sealant and Adhesive to seal the Cracks;
- Use High-Quality Acoustic Panels to get relax from surrounding sounds;
- Apply false floor sealing; and
- Apply Soundproof paint over the room, and you are ready to go.
Here’s the video that will help you to convert your room into Soundproofed Recording Booth:
How To Make Soundproof Booth Cheaply?
Conversion of your room into a soundproof booth cheaply is a great idea. A normal Soundproof room will cost more than 5 Lakhs rupees in India while 4 to 5 thousand of dollars in the USA or developed countries.
This huge cost makes it difficult even for a moderate level of content producers. It will also become difficult to get a high-quality booth at a cost that is even good for Newcomers or at a very low cost.
We will try to learn to build the booth within $200 or INR 15000. So, let’s dive into the journey to Make Soundproof Booth Cheaply.
Step 1: Make a Plan

The creation of a plan is a great idea if anyone wants to do anything. Just like another thing you also need to plan to “Build Soundproof Booth”. During your planning, you need to consider the following:
- Where you are making the booth?
- Build the walls, ceiling, floor
- Apply soundproofing paint
- Install Acoustic Foam
- Install the Best Acoustic Sealant and Adhesive
- Setup Pop UP Filter near Mike
After the creation of the plan, you need to move to the next plan;
Step 2: Where you are making the soundproofing booth?
You can make a soundproof booth where you have planned. Some of the places I can suggest are:
- Your Bed Room
- Dining Room
- or anywhere in your home
Before selecting the space, you need to consider the place you are building is Quiet in nature.
Step 3: Build the Walls, Ceiling, Floor
You need to build walls, ceilings, and floor for your soundproof booth in the place where you selected to make it. Now, you need to build Walls, Ceilings, Floor.
Step 4: Apply Soundproofing Paint
Now apply paint around the wall, and make sure you are using high-quality paint with more than 60% sound deflection.
Step 5: Install Acoustic Foam
After this, you need to install or paste Acoustic Foam over the wall and ceiling of the floor.
Step 6: Install the Best Acoustic Sealant and Adhesive
To install the best acoustic sealant, follow these steps:
- Clean the surface where the sealant will be applied to ensure that it is free of dust, dirt, and debris.
- Apply the sealant using a caulking gun or a sealant applicator.
- Smooth out the sealant using a caulk smoothing tool or your finger to ensure an even application.
- Allow the sealant to dry according to the manufacturer’s instructions.
- Once dry, test the sealant for sound reduction by conducting sound tests before and after installation.
It is important to note that the best acoustic sealant for your project will depend on the specific needs of the space you are trying to soundproof.
Step 7: Setup Pop UP Filter near Mike
To set up a pop-up filter near a microphone, you will need the following items:
- A pop-up filter (also known as a windscreen or foam shield)
- A microphone stand or boom arm
- A microphone clip or holder
Now the following method in order to install the Pop UP Filter near Mike;
- Attach the microphone to the stand or boom arm using the clip or holder.
- Position the microphone so that it is facing the desired sound source.
- Attach the pop-up filter to the stand or boom arm so that it is directly in front of the microphone.
- Adjust the position of the pop-up filter as needed to achieve the desired level of wind protection and sound clarity.
- Test the microphone with the pop-up filter in place to ensure that it is working properly and effectively reducing wind noise.
It is important to note that a pop-up filter may not completely eliminate wind noise and may also affect the sound quality of your recording.
What is a Good SoundProof Booth?
The answer to this simple question is full of complexity. So, we try to solve this question:
A good soundproof booth is an enclosed space that is designed to reduce or eliminate unwanted outside noise and prevent sound from escaping the booth. This can be especially important in certain settings such as recording studios, broadcasting booths, and scientific research facilities where a high degree of sound isolation is required.
The most important aspect of a soundproof booth is its ability to block and absorb sound. I believe a good soundproof booth can decrease the noise level by more than 80%.
Another important aspect of a good soundproof booth is its ability to be properly sealed. This means that there should be no gaps or openings in the walls, doors, or windows that would allow sound to enter or exit the booth. This can be achieved through the use of weatherstripping, door sweeps, and acoustic sealants.
Additionally, a good soundproof booth should have proper ventilation and an air conditioning system to ensure comfort for the person inside. The booth can become quite hot and stuffy without proper ventilation, which can be very uncomfortable for the person inside.
A good soundproof booth should also be designed with ergonomics in mind. This means that the booth should be comfortable to sit in and should be easy to use. This can include features such as comfortable seating, good lighting, and easy-to-use controls for the ventilation and air conditioning system.
Types of Soundproof Booth – You Can Make
You can design your booth in multiple designs but you can make only three types of vocal booths. These three are Permanent Soundproof Booths, Semi-Portable Soundproof Singing Booths, and Portable Soundproof Singing Booths. Let us discuss these three in a very descriptive manner:
- Portable Soundproof Booths: These are soundproof booths that can be easily assembled and disassembled. They are typically made of lightweight materials and can be transported to different locations as needed. Portable soundproof booths are often used in live music venues, film and television production, and scientific research.
- Semi-Portable / Modular Soundproof Booths: These are similar to portable soundproof booths in that they can be assembled and disassembled, but they are typically made of more durable materials and can be reconfigured to suit different needs. They are often used in industrial settings and for testing equipment.
- Permanent Soundproof Booths: These are soundproof booths that are built to specific specifications and are not designed to be disassembled or moved. They are typically used in permanent installations such as recording studios, broadcasting booths, and scientific research facilities.
- Mobile Soundproof Booths: These are soundproof booths that are mounted on wheels, allowing them to be easily moved around a facility or transported to different locations. They are often used in industrial settings, recording studios and scientific research.
Out of these four types of booths, I personally used a Portable soundproof booth for more than 2 years and semiportable for more than a year. I personally enjoyed and prefer a permanent soundproof booth.
Where you can share your content produced from SoundProof Vocal Booth?
There are a variety of platforms where you can share content produced from a SoundProof Vocal Booth. Some of the well-known platforms with millions of users are listed below:
- Social media platforms like YouTube, Instagram, and TikTok
- Podcast hosting platforms like Anchor, Spotify, and SoundCloud
- Streaming services like Twitch and Mixer
- Personal websites or blogs
It ultimately depends on the type of content you’ve produced and your target audience. Some platforms may be more appropriate than others.
Way Ahead: How To Make Soundproof Booth
In this article, we learned “How To Make Soundproof Booth?” according to needs. Now, you are ready to make a soundproof Booth.
If you think, I missed anything please comment.
Sharing is Caring……
Born in Delhi (INDIA), I created this to share my 4 Years of experience in the SoundProofing Industry.